From install to your first one-tap input, it only takes three steps. The key step — “enable the keyboard” — is done once in system settings, then it's ready in any app, any time.
Open the Scrip app and build entries from the clipboard, OCR or manual input — addresses, URLs, scripts — then sort them into categories.
Go to system Settings → General → Keyboard → Keyboards, tap “Add New Keyboard…”, and choose “Scrip Keyboard — Scrip.”
✓ A one-time setup
Bring up the keyboard in any app's text field, tap 🌐 to switch to the Scrip keyboard, tap an entry, and the content types in instantly.
Once enabled, “Scrip Keyboard — Scrip” appears alongside your other enabled keyboards, ready to switch to anytime.
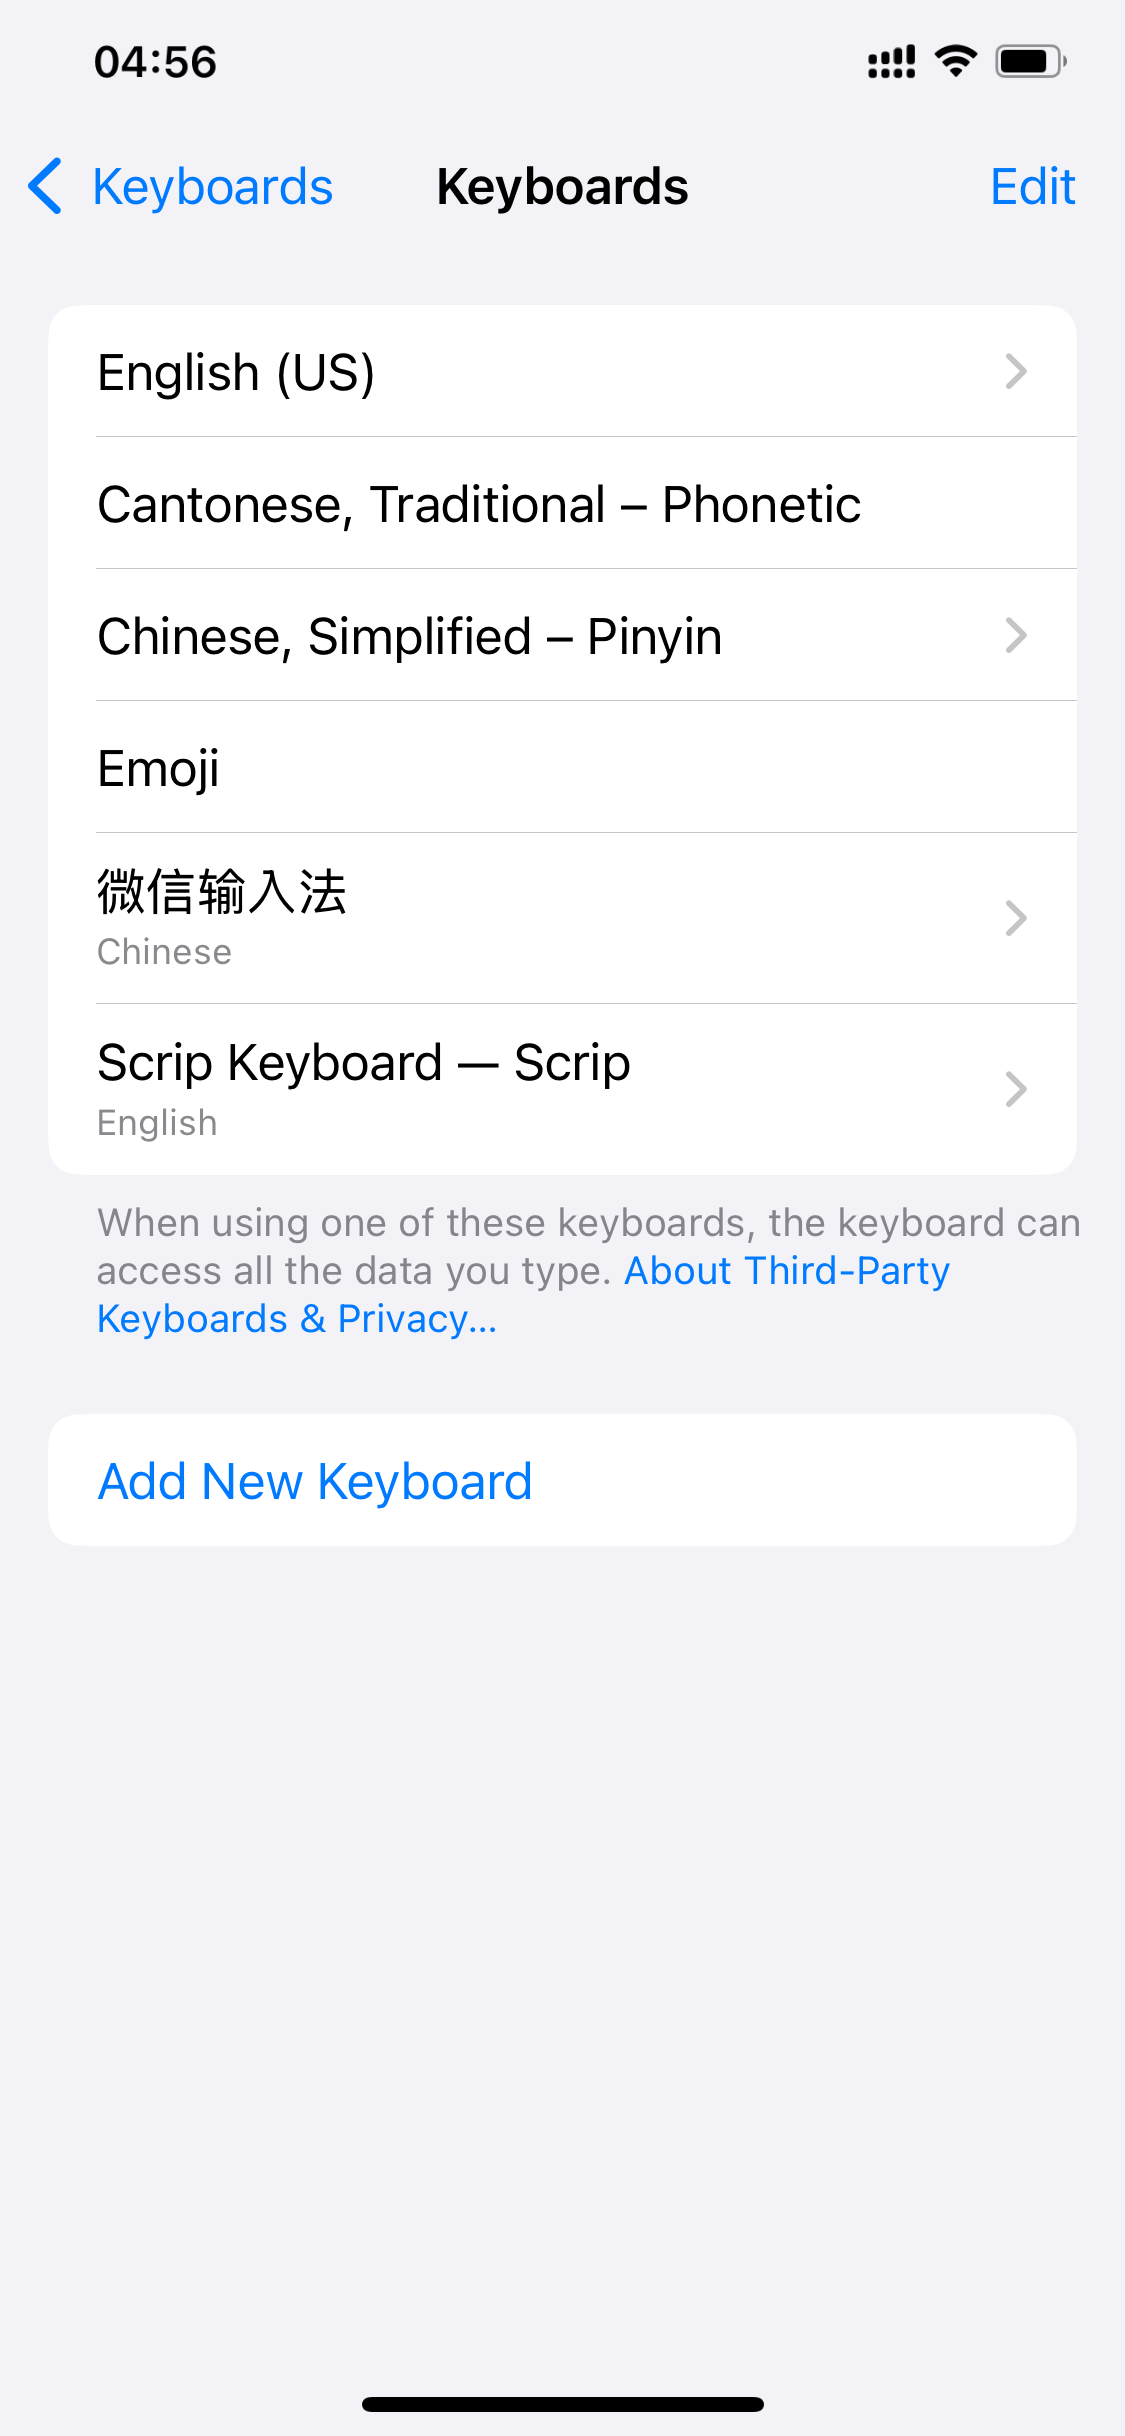
The system shows a notice that “keyboards may have access to all data you type” — this is a standard warning shown for every third-party keyboard. The Scrip keyboard is designed to only type what you tap into the input field — it never reads, logs or uploads anything you type.
The keyboard's only action is writing entry content into the current input field — it never reads anything back.
Entries are read locally and the keyboard works fully offline — one-tap input keeps working even with no connection.
Remove the Scrip keyboard from the system keyboard list whenever you like — your entries stay safely stored in the app.
You've now seen the full flow of Scrip — from organizing entries, to creating them, to one-tap keyboard input. Head back to the demo home to revisit any page.
 Scrip
Scrip